How the Bill of Materials Manager works
Learn how to define raw materials, build reusable components, assemble products, and review rolled-up costs in a multi-level BOM.
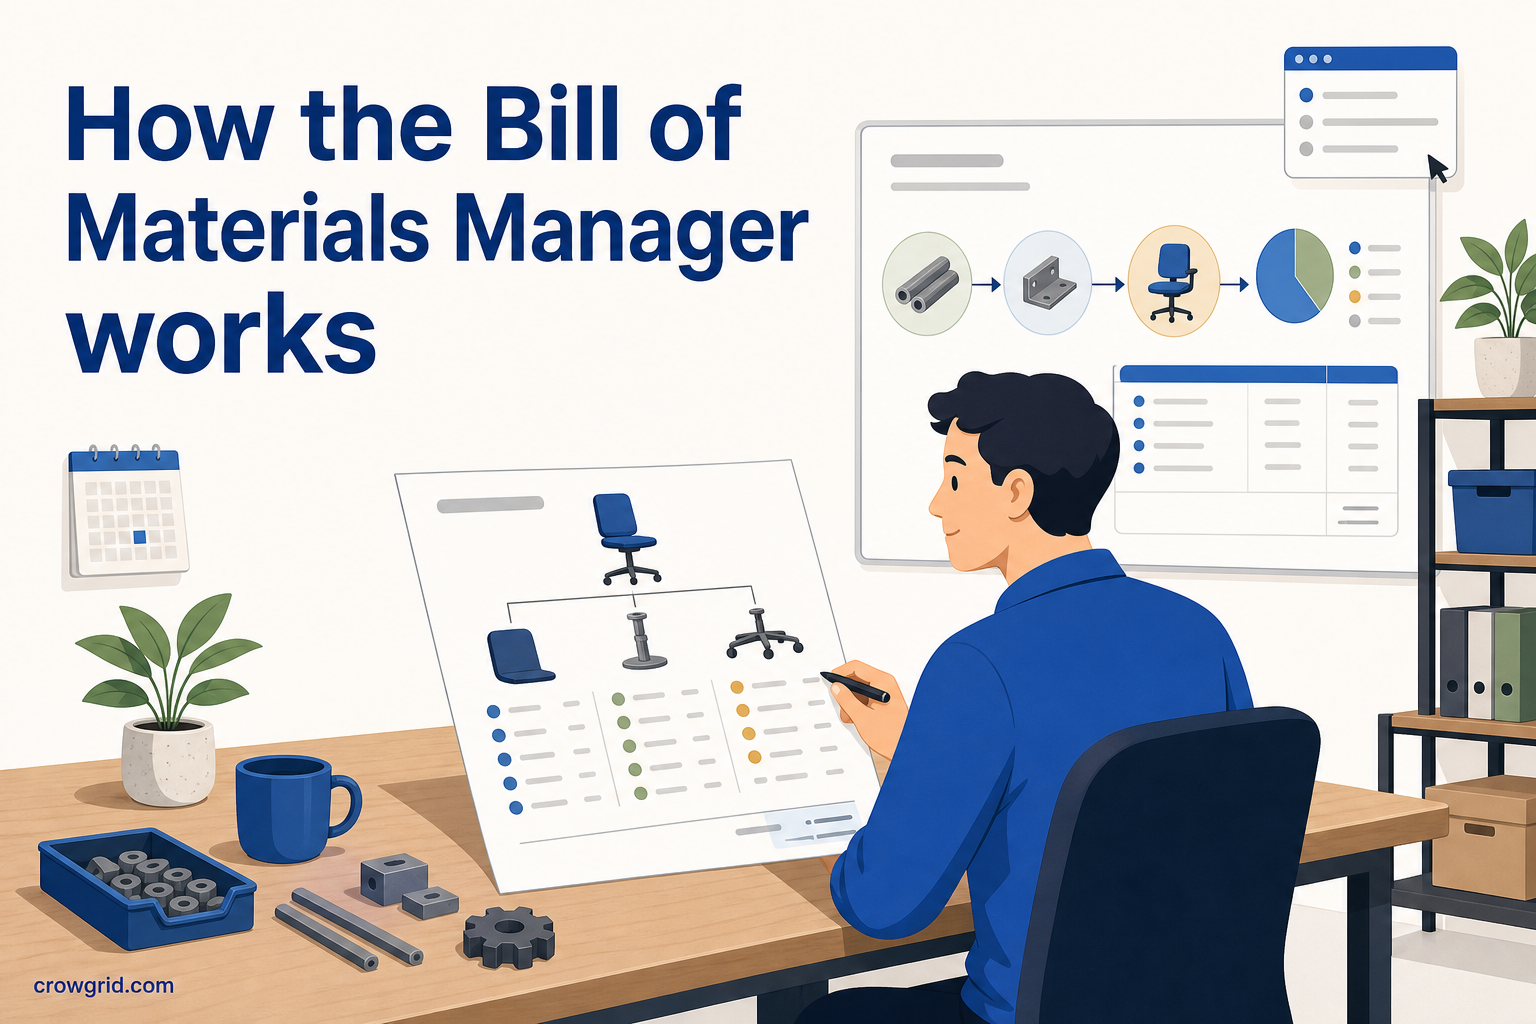
A bill of materials is easier to manage when every item has a clear place. The Bill of Materials Manager organizes your production data into three levels: raw materials, reusable components, and finished products. Costs roll up through those levels, so you can see what each product contains and how its total cost is calculated.
Start with a clear product structure
The Bill of Materials Manager is built around a practical hierarchy:
- Raw materials are the individual inputs you buy or use, each with its own price and unit of measure.
- Components combine raw materials in specific quantities and can be reused across products.
- Products combine components, additional materials, and extra costs such as labor or overhead.
This structure gives you a consistent way to model both simple and multi-level products. A basic product might contain only a few raw materials. A more complex product can contain several components, with each component carrying its own material quantities and costs.
Because costs are attached to the underlying items, you do not have to treat the finished product as a single unexplained total. You can inspect how material, component, labor, packaging, and overhead costs contribute to it.
1. Define your raw materials
Raw materials are the foundation of every BOM. Start by adding the individual materials used in your production process. For each material, you can record its name, unit price, SKU code, and unit of measure.
A centralized material library avoids defining the same input separately for every component or product. If one material is used in several places, it can be selected from the library wherever it is needed.
Useful details to record include:
- A clear material name
- Its price per unit
- A SKU code for identification
- Its unit of measure
- A component label where needed
Unit prices are important because they feed the calculations at higher levels. If a component uses a particular quantity of a material, the manager uses that quantity and the material's unit price to calculate its contribution to the component cost.
SKU codes make materials easier to identify and support inventory integration. Consistent units also make the resulting BOM easier for purchasing, production, and costing teams to read.
2. Build components and finished products
Once the material library is in place, you can turn those materials into components. A component defines which raw materials it contains and the quantity required for each one.
For example, a component could contain three different materials, each measured in a different quantity. The component cost is calculated from those underlying entries. You can then reuse that component when assembling one or more finished products rather than recreating its material list each time.
This is particularly useful when several products share a subassembly or standard part. The component provides a common definition that can sit inside different product BOMs.
Finished products are assembled from components and any extra materials required at the product level. You set clear quantities for each entry, allowing the manager to roll the relevant costs into the product total.
You can also add costs that do not belong inside a material or component. These can include:
- Labor
- Overhead
- Packaging
- Other fixed costs
- Other percentage-based costs
Keeping these costs alongside the component and material totals gives you a broader view of what the product costs to make. It also keeps the distinction between physical inputs and additional production costs clear.
The manager supports multiple products, with each product retaining its own component structure and cost breakdown. This lets you maintain separate BOMs without mixing their definitions.
3. Review the BOM summary and tree
After assembling a product, use the BOM Summary to review its costs. The summary brings together component materials, extra product materials, and additional costs so you can see the rolled-up total.
For a more detailed view, open the BOM Tree. This displays the complete product structure as a hierarchy, starting with the finished product and moving down through components to raw materials. Quantities and costs are shown at every level.
The tree is useful when you need to answer practical questions such as:
- Which components are included in this product?
- Which raw materials sit inside each component?
- How much of each item is required?
- What does each level contribute to the total cost?
- Where do labor, packaging, or overhead affect the result?
Instead of reviewing separate lists and manually tracing relationships, you can inspect the complete structure in one view. This is helpful for checking that quantities are correct, explaining a product cost, or spotting an input that has been placed at the wrong level.
The summary gives you the total, while the tree explains how that total was built.
Work with different units and currencies
Production data does not always use one unit of measure. A material may be purchased in kilograms but consumed in grams, or tracked in another related unit. The built-in unit families and conversion values let you mix compatible units across materials and components.
This allows quantities to reflect how your team actually purchases and uses each input. You can define materials with their appropriate units and use conversions when they appear elsewhere in the BOM structure.
You can also set a preferred currency for cost calculations and displays. The selected currency is then used consistently across raw materials, components, products, and cost summaries.
Use rolled-up costs for practical checks
A rolled-up product cost is most useful when you can inspect its source. The manager preserves the relationship between each total and the items beneath it.
When reviewing a product, you can check whether the component quantities match the intended build, confirm that extra materials are included, and verify that labor or overhead has not been omitted. You can also compare the cost contributions of different branches in the BOM tree.
This does not replace your production or inventory process. It gives you a structured cost model that can be reviewed and maintained by manufacturers and production teams.
Frequently asked questions
Can I create multi-level bills of materials?
Yes. You can define raw materials, use them to build components, and combine those components into finished products. The BOM Tree shows the resulting multi-level structure with quantities and costs at every level.
Can different units of measure be used in one BOM?
Yes. Built-in unit families and conversion values allow you to mix compatible units across raw materials and components. This is useful when a material is priced in one unit but consumed in another.
How many products can I manage on the free tier?
The free tier includes up to 50 products and unlimited raw materials. The Pro tier supports unlimited products.
Define your materials, assemble your components, and inspect the cost behind each finished product with the Bill of Materials Manager.