How to Group Work in Roadmap Maker
Learn how to build a visual roadmap and group work by phase, workstream, or quarter using custom categories, dates, and statuses.
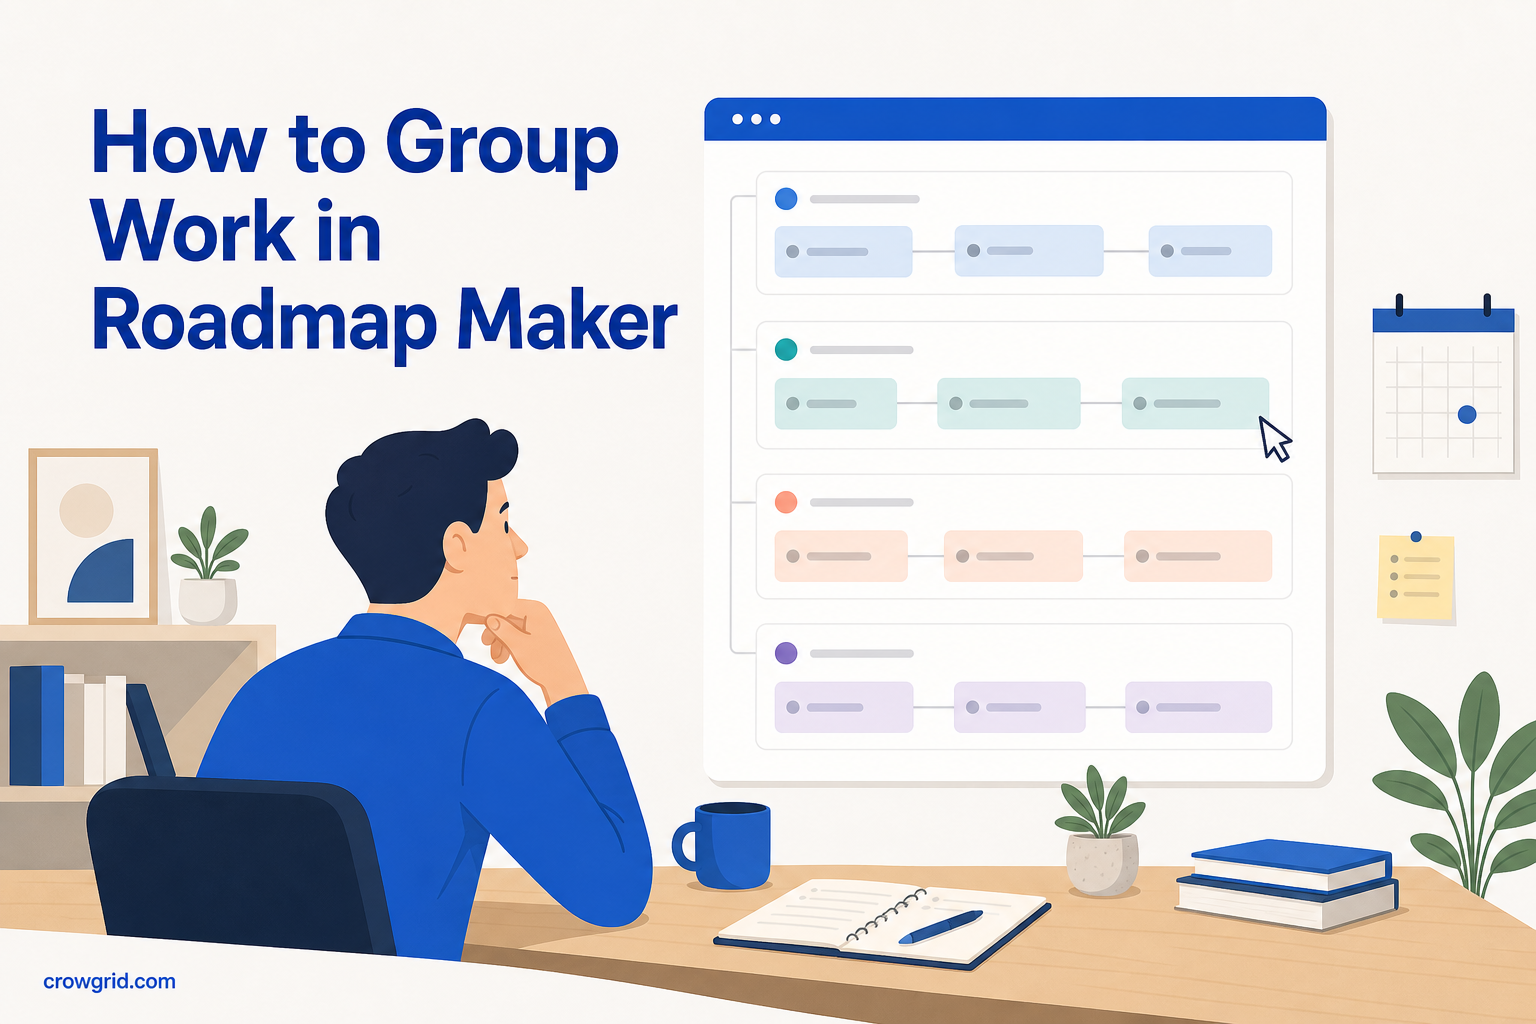
A useful roadmap should show what is planned, how the work is grouped, and when each item is expected to happen. Roadmap Maker gives you one place to add that information and arrange it on a visual timeline.
You can use the same basic setup for a product, project, team, or strategic initiative. Custom categories let you group items by phase, workstream, quarter, or another structure that matches how you plan.
Choose how to organize your roadmap
Before adding items, decide what each category will represent. Roadmap Maker groups timeline items by category, so this choice determines the main structure people will see.
Three common approaches are:
- Phase: Use categories such as Discovery, Planning, Delivery, and Launch. This works when the roadmap follows a defined sequence.
- Workstream: Use categories such as Engineering, Design, Marketing, and Operations. This makes responsibilities and parallel work easier to review.
- Quarter: Use categories such as Q1, Q2, Q3, and Q4. This works well for plans discussed in quarterly cycles.
You can also create categories for products, strategic themes, customer areas, or any other grouping relevant to your work. Each roadmap has its own items and categories, so you do not need to force every plan into one shared structure.
Step 1: Create a roadmap
Start by creating a roadmap and giving it a clear name. Add a description that explains the scope of the plan, the result it is meant to support, or the team it covers.
Each roadmap is self-contained. You might create one for a product release, another for an internal project, and another for a longer-term initiative. Their items and categories remain separate.
A specific name helps when you manage several plans side by side. For example, “Mobile app release plan” is easier to identify than “Product roadmap.” The description can record the planning period, intended audience, or assumptions people should know before reading the timeline.
At this point, you do not need every date or requirement settled. Create the container first, then build the structure as the plan becomes clearer.
Step 2: Add items and categories
Next, create the categories that will form the lanes of your roadmap. These can represent phases, workstreams, quarters, or custom groupings.
Add each roadmap item with a title, description, category, timeframe, and status. Start and end dates place the item on the horizontal timeline. The assigned category determines where it is grouped.
Use the description to capture details that do not fit in the title, such as requirements, context, or acceptance criteria. A short, specific title keeps the timeline readable, while the description holds the information needed to understand the work.
Each item can be marked as planned, in progress, or completed. These statuses give you a consistent way to show what has not started, what is active, and what is finished.
You can organize items by dragging them into the right position. This is useful when priorities change or when an item belongs in a different part of the plan.
For a workstream-based roadmap, a set of items might look like this:
- Design concepts in the Design category
- API preparation in the Engineering category
- Launch materials in the Marketing category
- Support planning in the Operations category
If you prefer phases, those same items could be grouped under Discovery, Build, Launch, and Follow-up. The work may stay the same; the categories change how the roadmap communicates it.
Step 3: Share and track the plan
Once the roadmap has items, open the visual timeline to review the complete plan. Items appear across a horizontal timeframe and are grouped by category, making it easier to see overlapping work, gaps, and the sequence of planned activity.
Use this view when discussing the roadmap with stakeholders. Instead of reading through a list of tasks, they can see what is coming next and how each item relates to the wider plan.
As work changes, update dates, categories, descriptions, and statuses. Marking items as in progress or completed keeps the roadmap current and provides a quick overview of progress.
The timeline is also useful for checking whether your chosen grouping still makes sense. If one category becomes too broad, you can create more specific categories. If the roadmap feels fragmented, you can consolidate categories around a smaller set of phases or workstreams.
When to use phases, workstreams, or quarters
The right grouping depends on the question your roadmap needs to answer.
Use phases when readers need to understand the progression of work. A phase-based roadmap shows how an initiative moves from early investigation through delivery and completion.
Use workstreams when several disciplines or areas are working in parallel. This view makes it easier to compare engineering, design, marketing, operations, or other areas across the same timeframe.
Use quarters when planning discussions are tied to periods of the year. Dates still show the precise timeframe of each item, while quarterly categories provide a familiar planning frame.
You can create separate roadmaps when different audiences need different structures. For example, a product roadmap might be grouped by strategic theme, while a delivery roadmap for the same period might be grouped by workstream. Keeping them separate lets each roadmap stay focused on its purpose.
Keep the roadmap useful over time
A roadmap becomes less useful when dates, descriptions, and statuses no longer reflect the actual plan. Review it regularly and make small updates rather than waiting for a complete rewrite.
Check that:
- Every active item has an appropriate status.
- Start and end dates still reflect the expected timeframe.
- Categories describe the current structure of the work.
- Item descriptions contain enough context for someone reviewing the roadmap.
- Completed work is marked consistently.
Because you can manage multiple roadmaps, finished plans do not need to be mixed with current initiatives. Keep each roadmap focused on one product, project, team, quarter, or other defined scope.
Frequently asked questions
Can I group roadmap items by quarter?
Yes. Categories are customizable, so you can define Q1, Q2, Q3, and Q4 as categories and assign items to them. You can also use start and end dates to show the specific timeframe for each item on the visual timeline.
Which statuses can I assign to an item?
Each roadmap item can be marked as planned, in progress, or completed. Updating these statuses gives you a quick view of progress across categories and timeframes.
How many roadmaps can I create for free?
The free tier includes up to 10 roadmaps with 30 items each. Pro supports unlimited roadmaps, so you can keep separate plans for different products, projects, teams, or initiatives.
Build your next plan with Roadmap Maker.