How to Run Your First 9 Box Talent Review
A practical walkthrough for adding employees, evaluating performance and potential, and preparing a clear 9-box calibration.
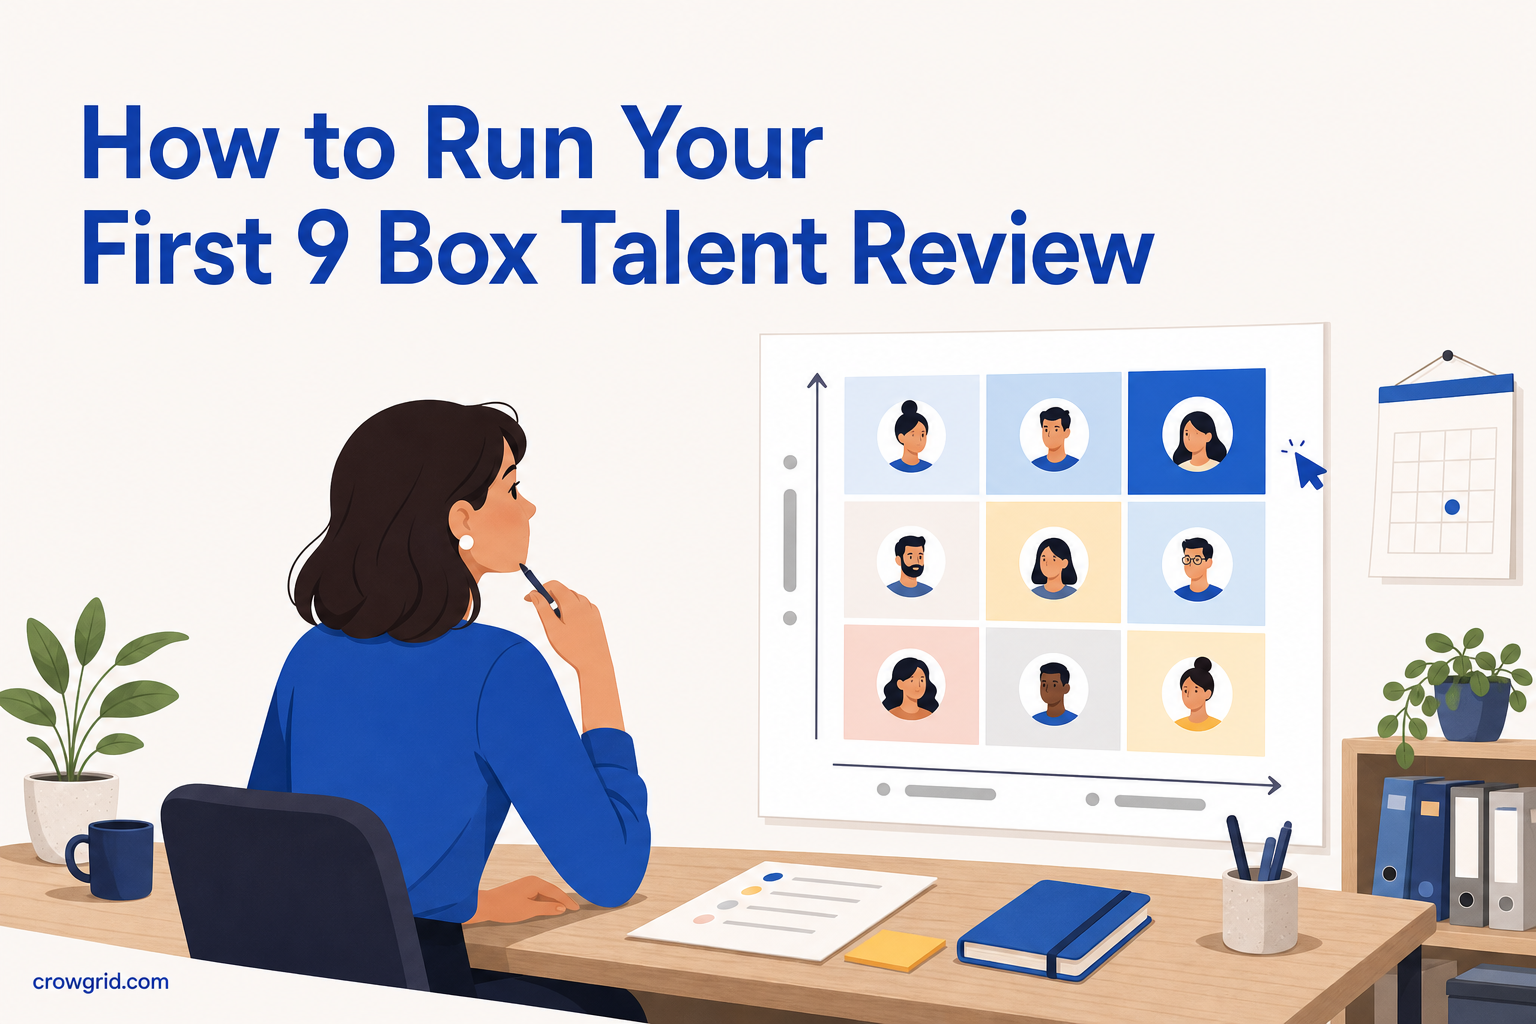
A 9-box grid gives you a shared view of employee performance and potential. For your first talent calibration, the hard part is not drawing the grid. It is agreeing on consistent criteria, placing each person thoughtfully, and recording what should happen next.
The 9 Box Grid Maker provides one place to add employees, evaluate them on two axes, and review the resulting grid. Here is how to use it to prepare and run a practical calibration.
Prepare your evaluation model
Before adding anyone, decide what performance and potential mean for this review. Clear definitions help managers apply the same standards instead of relying on different personal interpretations.
Performance usually reflects demonstrated results in a current role. Potential is a separate judgment about someone’s capacity for broader or more complex responsibilities. Your organization may use different definitions, so document them before scoring begins.
The app lets you customize axes, labels, and the grid structure to match your model. You can begin with a ready-to-use template or create your own structure from scratch.
Prepare a few items before the session:
- The employees included in the review
- Basic information needed to identify each person
- Definitions for every level on both axes
- The period or body of work being assessed
- Managers who should contribute to the discussion
- Rules for who can view the grid
Keep the scope manageable for a first calibration. A clearly defined team or department is easier to discuss consistently than a mixed group with unrelated roles and expectations.
Step 1: Add employees to the grid
Start by adding the people included in your review. You can enter employees manually or import them from a spreadsheet, depending on what works for your team.
At this stage, focus on accurate names and basic information. Avoid making placement decisions while you are still assembling the list. First confirm that the review population is complete and that nobody has been added twice or left out.
If several managers are involved, agree on who owns each employee’s initial evaluation. Team access lets managers and HR collaborate, while access controls help you decide who can see the information.
Once the list is ready, check it against the agreed scope. For example, confirm that everyone belongs to the same review period and that managers are assessing comparable evidence. This preparation gives the calibration discussion a more reliable starting point.
Step 2: Evaluate performance and potential
Score each employee on both axes. As you assign the two scores, the person appears in the corresponding part of the grid.
Use the definitions prepared earlier. A rating should reflect the agreed criteria rather than a manager’s general impression. Notes can help capture the reasoning behind a placement, especially where the evidence is mixed or another manager may ask for context.
Treat the first placement as a proposal, not a final judgment. Calibration is useful because managers can compare how they have applied the criteria. If one manager uses the highest performance rating sparingly while another applies it broadly, the session should surface that difference.
For each employee, ask practical questions:
- What evidence supports the performance rating?
- Which definition of potential is being applied?
- Are the two axes being considered separately?
- Is recent work receiving too much weight?
- Would the same evidence lead to the same rating for someone else?
The visual grid makes differences easier to spot, but it does not replace discussion. Two employees can occupy the same box for different reasons. Use notes to preserve important context and record any points that need follow-up.
You can update placements as the group reaches agreement. Because the interface works on desktop, tablet, and mobile, participants can access the grid from the device available to them.
Step 3: Analyze the completed grid
After reviewing individual placements, step back and look at the full grid. This is where you can identify patterns, questionable clusters, and areas that need another conversation.
A large concentration in one box may reflect the team’s actual profile. It may also indicate that criteria have been applied too narrowly or that managers have avoided difficult distinctions. The grid helps you see the pattern, but the group still needs to examine the reasons behind it.
Look for employees whose placements changed substantially during calibration. Review the notes and make sure the final rationale is clear. You can also add action items and follow-ups for each person, turning the discussion into a record of next steps rather than leaving decisions in meeting notes.
Possible follow-ups include gathering more evidence, revisiting a rating, or assigning an owner to a later discussion. The appropriate action depends on your organization’s talent process, so record concrete next steps without treating a grid position as a complete development plan.
When the review is ready, you can export it as a PDF or image, or share it by link. Choose the format that fits the audience and check access before distributing sensitive employee information.
Run the calibration meeting
A useful calibration meeting follows a consistent order. Begin by restating the scope, rating definitions, and evidence period. Then review placements where managers disagree or where the rationale is unclear.
Keep the conversation tied to evidence. If a rating changes, update the grid and note why. If the group cannot resolve a question, assign a follow-up instead of forcing a decision without enough information.
Before ending the meeting, confirm:
- Final placements are recorded
- Important reasoning is captured in notes
- Open questions have owners
- Action items include clear follow-ups
- Sharing permissions match the intended audience
- The correct export or share format has been selected
This final check reduces the chance that decisions are lost or that an unfinished version is circulated.
Common mistakes to avoid
Do not treat potential as a reward for strong current performance. The axes meet in the same grid, but they represent different judgments.
Avoid changing criteria halfway through the review without telling the group. If a definition needs revision, pause and apply the updated standard consistently to everyone already discussed.
Do not assume that a placement explains itself. Add notes where the reasoning matters, particularly for decisions likely to be revisited.
Finally, avoid sharing the grid more widely than intended. Use team access controls and confirm who can see what before sending a link or exported report.
Frequently asked questions
How can I try the 9 Box Grid Maker?
Click “Open App” on the product page to get started. You can create up to three grids for free, and no credit card is required.
Can I customize the grid for our evaluation model?
Yes. You can adjust the axes, labels, and grid structure. Pro users can also customize the colors, labels, and entire grid structure.
Can managers use the tool on different devices?
Yes. The app is responsive and works on desktop, tablet, and mobile devices, so managers can access the grid from the device that suits their setting.
A clear first calibration starts with shared criteria and ends with documented decisions. Use the 9 Box Grid Maker to create the grid, review placements, and record the next actions.